I wish I could take credit for this one but it belongs to Michael’s. When I was searching for a fun way to serve candy at my daughter’s Halloween class party, I came across this on Michael’s website under projects. I instantly fell in love with this creative way to use a craft pumpkin and the instructions are pretty straight forward. I did make a couple minor modifications to my spider, for instance, instead of using decoupage and glitter for the mouth opening, I just went straight to glitter glue (combined two items into one easy step) and then I used a different design for the eyes. But these were just my preferences, feel free to make your own modifications to make this your own creation; use different colors, sizes, or other creative ideas you can think of. It’s Halloween and spiders, monsters, and ghouls come in all shapes and sizes.

Halloween Spider Craft
Materials:
- 9″ Diorama Craft Pumpkin
- Glitter Glue (or if following Michael’s, use Mod Podge Matte and Glitter)
- Assorted Googly Eyes
- Glue Sticks
- Glue Gun
- Giant Black Chenille
- Stiffened White Felt
- Bead Reamer Tool
Directions:
 1. Apply glitter glue around pumpkin’s opening, spider’s mouth, and allow to dry. If following Michael’s directions, apply decoupage and then sprinkle with glitter and let dry.
 2. Mark 4 dots on each side of the pumpkin, about 2-1/2″ back from mouth opening and about 1″ apart. Then use the bead reamer to poke holes where the dots are, making sure to push all the way through the pumpkin. May need to wiggle it a bit so that the hole is large enough to insert the chenille legs.


3. Fold chenille in half three times to create equal lengths for the legs and cut on each bend. You should have eight legs when done.


4. Trim about 1/2″ of fuzz away from one end of each chenille leg. This will help the leg fit into the holes on the side of the pumpkin. Next, insert the trimmed ends into the pumpkin holes and bend the trimmed end up inside the pumpkin to prevent the legs from falling out. Bend the legs so that they look like the spider is standing.
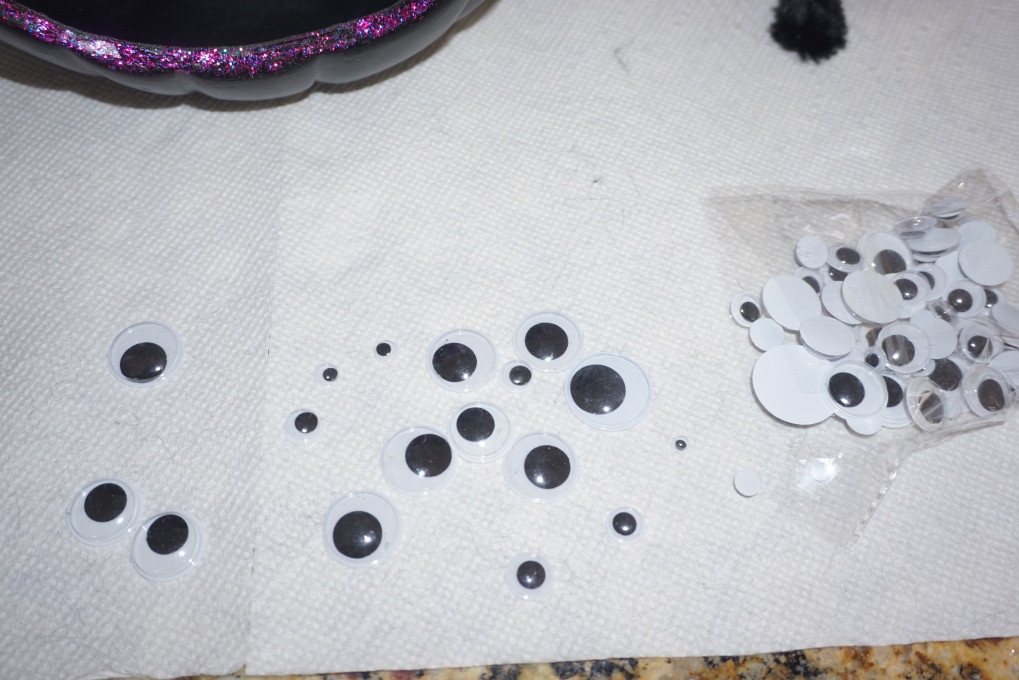


5. Select an assortment of googly eyes. I taped mine on the pumpkin so that I could see how it would look and make adjustments before I began to hot glue them on. Once you are pleased with your arrangement, begin hot glueing the eyes on the pumpkin by adding a bit of glue to the back of the eye and pressing it on the pumpkin.

6. Cut two triangles with scissors from the stiffened felt for fangs. Attach to the top inside of the spider’s mouth with hot glue (see previous step for image).
 7. Fill the spider’s mouth with candy and enjoy watching as your guests smile every time they reach for a sweet treat from the spider’s mouth.
I hope you find this adorable Halloween Spider Craft simple to make and will bring a little bit of humor to your Halloween decor. I added this among my other Halloween decorations around the house this year and also brought it to my daughter’s Halloween class party; her class loved it! They thought it was fun to reach inside the spider’s mouth and pull out a piece of candy.

