Ever look at your kitchen chairs and think, “do my kids even know what a napkin is?” Well I did and until recently I was completely embarrassed whenever we had company. I’d always try to plan out where everyone would sit. Hoping I could get to the table first and direct our guests to the least stained chairs.
Over the years, I’ve tried various cleaning products but the stains ended up winning and I just couldn’t get the chairs entirely clean anymore.
I love my kitchen dining set and there is nothing wrong with the rest of the set; just the seat cushions. I couldn’t see spending a small fortune on a whole new set when just the upholstery needed to be changed. But I was lost on where to begin searching for someone to re-upholster the chairs and I couldn’t imagine what they’d charge. So I did the next best thing; I talked to my parents.
My Father used to build custom homes and can pretty much do anything. He just recently re-upholstered their dining room chairs (which look amazing) so I knew he could help guide me through this project and agreed to help me on their next visit.
Yeah! Happy dance! I was so excited that I could keep my kitchen set and actually be proud to show guests.
Now, if I could only get my kids to use a napkin? Thank goodness for Scotch Guard. Hmm, do you think I could Scotch Guard my kids? Just kidding!
Besides, now that my Dad has passed down this little gem of knowledge, I can always re-upholster again if needed.
Thanks Dad for doing this project with me. I couldn’t have done it without you.
Below you’ll see the steps we took to make this major transformation.
Tools you’ll need:
|
|
|
|
|
|
|
|

- Remove the seat cushion from the chair frame. When you flip the chair over, you’ll see screws or depending on the depth of the wood frame, you may just see the holes where the screws are sunk down in.
- Use the flexible tape measure and measure the seat width and depth so you’ll know what size to cut your fabric. With the seat face down, wrap the tape measure under the seat and up around the edges to where you’ll staple the fabric to the seat.

3. Have the underside of the fabric facing up and mark your cut lines with a pencil and straight edge. We used a level because it was the longest straight edge I had. My fabric was the correct width to get two seats out of so I used the half fold line as my cut guide. We then measured from the bottom edge and marked four points along the fabric. Using the straight edge, draw a line connecting the points creating a cutting line guide.

4. Follow your cut line guides and cut your fabric into each piece needed to cover your seats.

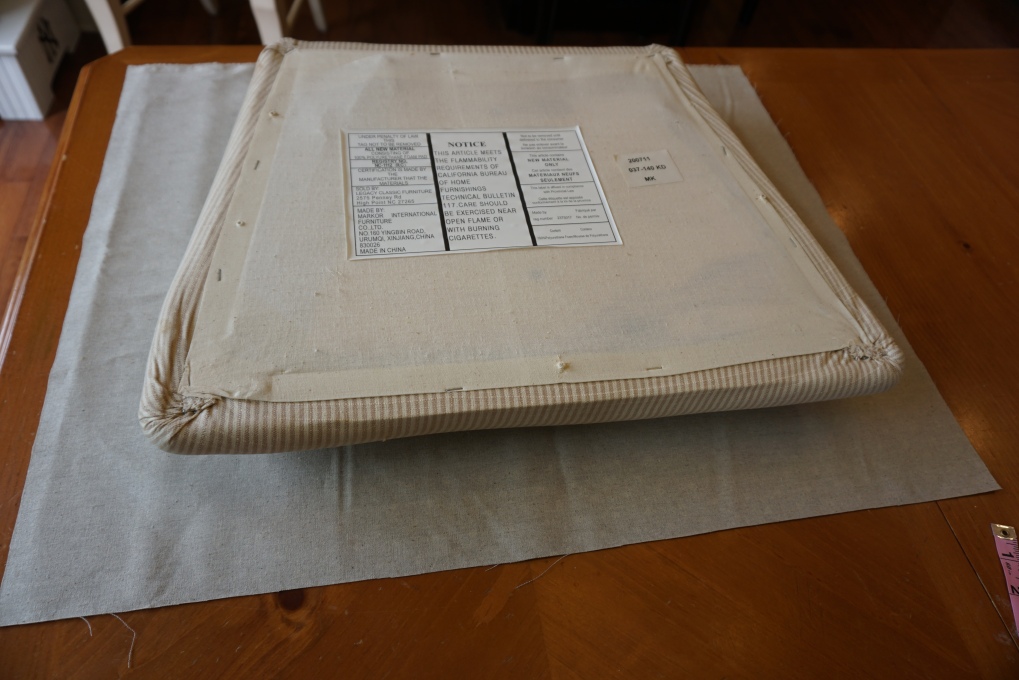
5. Position the seat cushion on top of your fabric (underside facing up). Bring sides up around the seat to ensure you have enough fabric to staple to the bottom of the seat and make adjustments as necessary.

6. Bring the fabric up around to the bottom of the seat and staple in the middle of each side to hold the fabric in place. Be careful not to pull too tight but also not too loose. It needs to be smooth across the seat with no wrinkles.

7. Now, the tricky part. Smooth your fabric toward the corners and make tiny folds to curve the fabric around the corners. This got easier the more we did but everyone seemed slightly different. Once you have the corner and fabric the way you like, go ahead and staple it. You may need to use multiple staples depending on the amount of fabric you have. Continue to work your way around the seat. Smoothing the fabric and stapling the corners.

8. Once all corners are completed, simply staple along the sides to secure the fabric to the seat. Don’t worry if this doesn’t look pretty; it’s the bottom of the seat and no one is going to see it.

9. Now you are ready to screw the seat cushion back onto the frame. If your upholstery hasn’t been stain treated like mine, you can use Scotch Guard. I lined up my finish chairs in the garage and sprayed them there. Scotch Guard suggests applying two light coats. Let the first coat dry and then apply the second. I did three. Calculating in the kid factor.
10. Just stand back , super hero pose optional, and marvel at your new beautiful (stain free) chairs!


Pingback: Re-upholstering Chairs | Healthy Creative Home